This article explains how to convert a given Linux distribution to a Slackware one in an OVH kimsufi server.
It is inspired by the Slackware wiki page Install Slackware on an online.net Dedibox BareMetal Server, which explains the same for a Dedibox BareMetal Server on online.net.
The plan is to
- install a
Linuxof your choice - reboot in rescue mode that
Linuxdistro - download the
Slackwareinitrd and prepare the install environment - chroot into the
Slackwareinitrd image - partition and install
Slackwareover the existingLinux - configure the fresh installed
Slackwareand reboot
Install a Linux distribution
Install a Linux distro of your choice, Debian 11 for example, selecting "Custom installation"
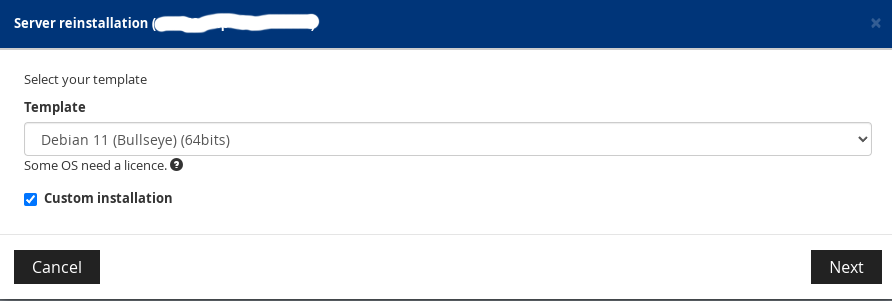
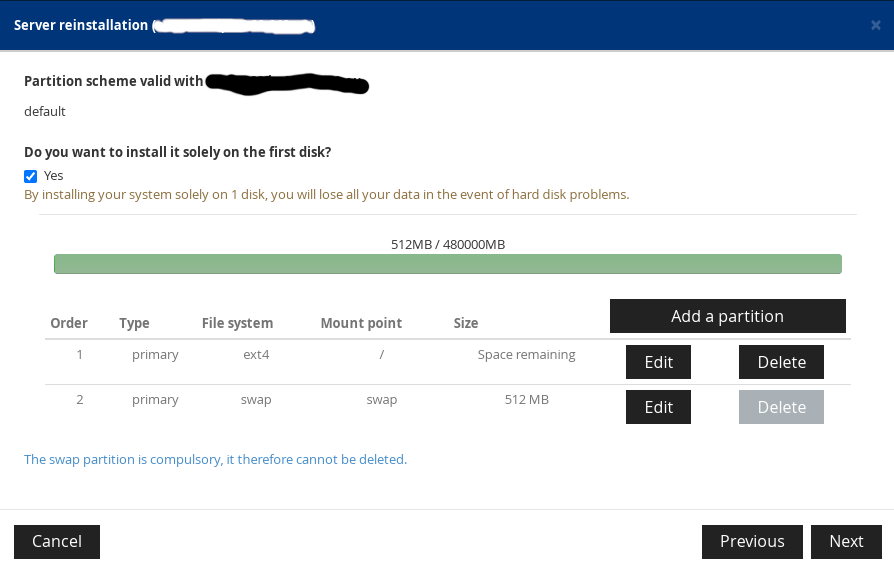
Install your OS in the first disk, avoiding to use the RAID mode. You have to set up at least the first partition (to mount as /) and possibly the swap space at this stage.
Grab your net parameters
Once the installation has finished, you will get the ssh login in your mailbox (debian@111.222.333.444). Connect via ssh and change user to root
> sudo su -
Take note of the net configuration (ip, gateway, name servers):
> ip r
default via 111.222.333.254 dev enp3s0
111.222.333.0/24 dev enp3s0 proto kernel scope link src 111.222.333.444
so our gateway is 111.222.333.254 and our ip is 111.222.333.444.
Browse your resolv.conf to copy the name servers' ip
> more /etc/resolv.conf
nameserver 2001:41d0:3:163::1
nameserver 213.186.33.99
In rescue mode
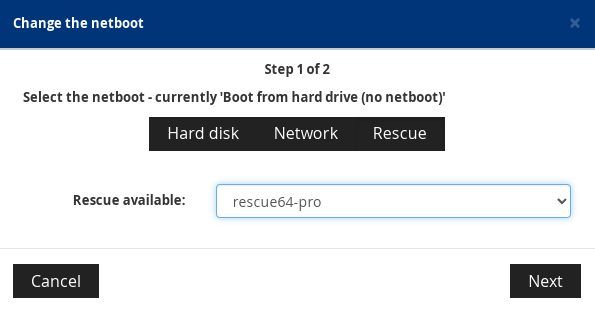
Now reboot your server in rescue mode by clicking the "Netboot" button of the OVH's control panel and then "Rescue" in the following panel. Choose rescue64-pro:
Retrieve the userid and password from your email and connect via ssh.
Setting-up the Slackware installer environment
The Linux environment where we are living now has nothing to do with the Debian OS that we have installed earlier. You can mount your /dev/sda* partitions with your Debian installation if you like.
Now it's the time to prepare the Slackware installer setup:
mkdir -p ~/slackware-chroot
cd ~/slackware-chroot
wget https://slackware.osuosl.org/slackware64-15.0/isolinux/initrd.img
xz -dc < initrd.img | cpio -i --make-directories
mount --bind /proc proc
mount --bind /sys sys
mount --bind /dev dev
mount --bind /dev/pts dev/pts
mount --bind /run run
touch etc/resolv.conf
mount --bind /etc/resolv.conf etc/resolv.conf
Here we have pulled down a Slackware initrd image and decompressed it. Then we have mounted some suitable system directories. Mounting /etc/resolv.conf will provide DNS to the environment were we are going to chroot to run the setup program.
Partition
Now you can (re)partition your disk, or use the partition table that you have already created when installing Debian. You can edit the partition table with your favourite partitioning tool, e.g. fdisk, cfdisk, etc. in the usual way.
Download the packages
I prefer to download the required packages myself, instead of letting the setup program do it for me, because I want a minimal system. I have prepared a download shell script and a list of Slackware packages to be downloaded. The script let you choose the Slackware version, your favourite mirror and your package list file, were you have to put the packages to download one per line. The script is able to download also the packages from the patches folder.
mkdir -p ~/slackware-chroot
cd ~/slackware-chroot
wget https://notes.sagredo.eu/files/hacks/slackware/download_slack_pkg.sh
wget https://notes.sagredo.eu/files/hacks/slackware/PKG_LIST_15.0
chmod +x download_slack_pkg.sh
# run the download program
./download_slack_pkg.sh
The packages will be downloaded into ~/slackware-chroot/slackware${ARCH}-${VERSION}_pkg (which should be ~/slackware-chroot/slackware64-15.0_pkg). The directory is created by the program itself.
Install Slackware
Enter the Slackware chroot:
chroot ~/slackware-chroot /bin/bash --login cd
export TERM=xterm
Now that you have done the partitions and downloaded the Slackware packages (you have them in the /slackware64-15.0_pkg dir in your chroot environment) you can run the setup program and perform the installation as you have always done before. Just remember that:
- if you downloaded the packages before, you have to point the setup to the /slackware64-15.0_pkg directory. Otherwise, let the installation program download and install them for you.
- you don't have to reboot the machine at the end of the installation, as you still have to do a couple of configurations.
Configure the installed Slackware
You can look at the root filesystem of the freshly installed Slackware navigating to the /mnt directory, where it's still mounted after the installation.
You may also want to comment out the follwing lines in /etc/inittab:
#c1:12345:respawn:/sbin/agetty --noclear 38400 tty1 linux
#c2:12345:respawn:/sbin/agetty 38400 tty2 linux
#c3:12345:respawn:/sbin/agetty 38400 tty3 linux
#c4:12345:respawn:/sbin/agetty 38400 tty4 linux
#c5:12345:respawn:/sbin/agetty 38400 tty5 linux
#c6:12345:respawn:/sbin/agetty 38400 tty6 linux
and the following lines in /etc/securetty:
#tty1
#tty2
#tty3
#tty4
#tty5
#tty6
tty[1-6] are for the standard VT login prompts, but since we have no keyboard and no display, we cannot make any use of them.
Before rebooting, configure the SSH server as you like. I have just enabled the root login for the time being. I will disable it after the reboot, when the rsa key is in place. Edit your /etc/ssh/sshd_config file and uncomment this line:
PermitRootLogin yes
Now, go to the OVH control panel and select "netboot" again. You have to enable the boot from the hard disk:
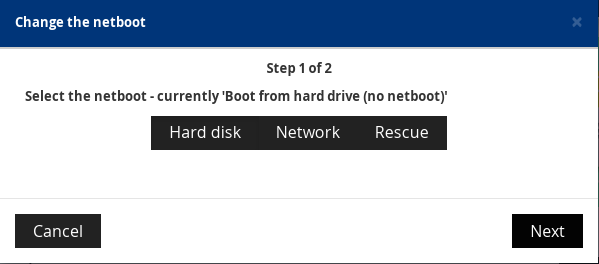
Now reboot your machine and you are done.
This article is licensed under the following license: CC Attribution-Share Alike 4.0 International
